I only recommend products I use myself and all opinions expressed here are our own. This post may contain affiliate links that at no additional cost to you, I may earn a small commission.
This Easter egg photo magnet craft post is sponsored by Oriental Trading. Oriental Trading is my one stop shop for Easter & crafting at home fun. It looks like the kids and I will be home a lot more now so bring on all the crafts! Right now Oriental Trading is offering free shipping on any order! All you need to do is enter coupon code HipHop20 at checkout. The Easter section is on sale! There's savings up to 50% off now already.
They have all kinds of Easter crafting supplies and Easter basket fillers. If you are having an Easter egg hunt they have just about anything you can think of. I took one of their prepackaged crafts and turned it into something different. The majority of the supplies used came from Oriental Trading. On with the Easter crafts!
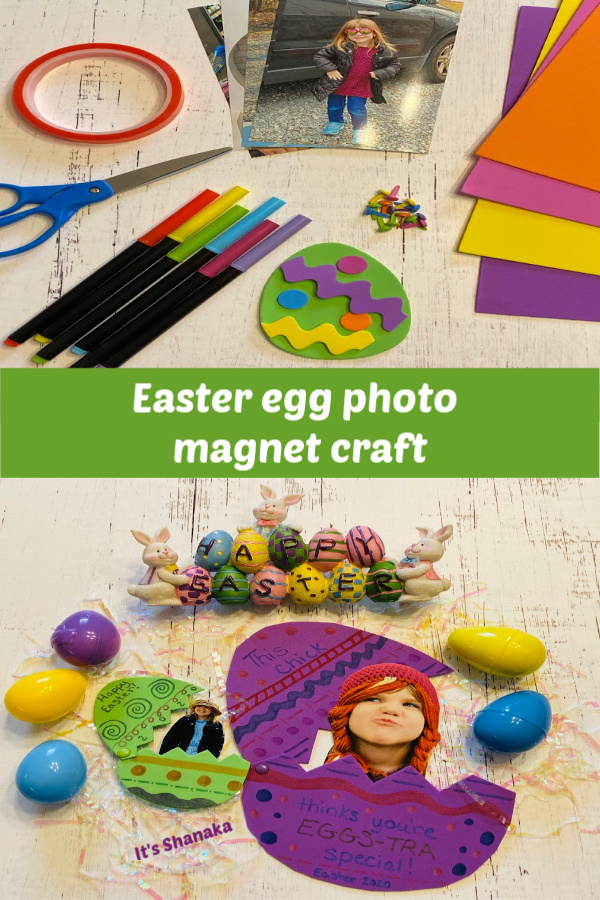
Easter egg photo magnet craft
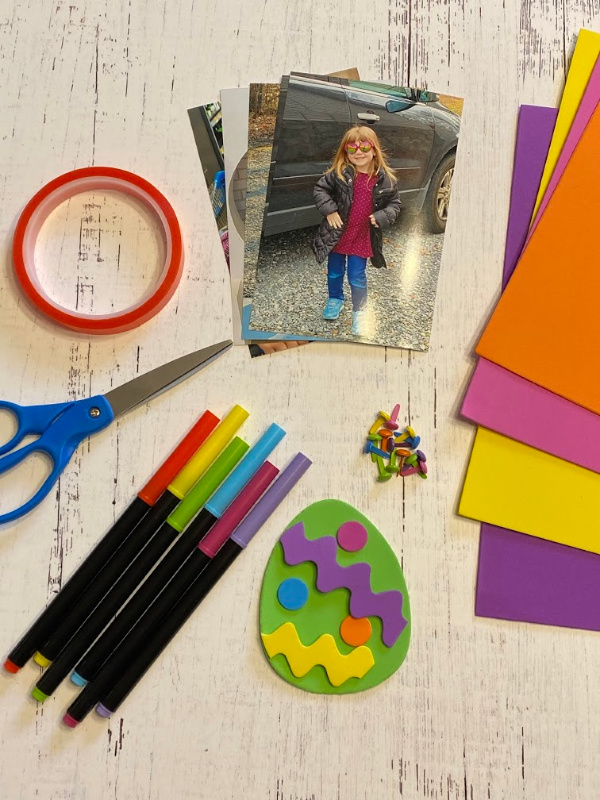
Supplies needed:
-Easter egg magnet craft kit from Oriental Trading (pack of 12) or a pack of plain foam sheets
-Printed photos of your child(ren) that you want to use
-Double sided tape
-Brads
-Scissors
-Markers
The directions will be on how to make an Easter egg photo magnet using the Oriental Trading prepackaged craft kit. You can do the exact same thing with the plain foam sheets You'll just have to add the steps of printing the extra large egg template and cutting the shape out of the foam sheets. I will include photo examples of both.
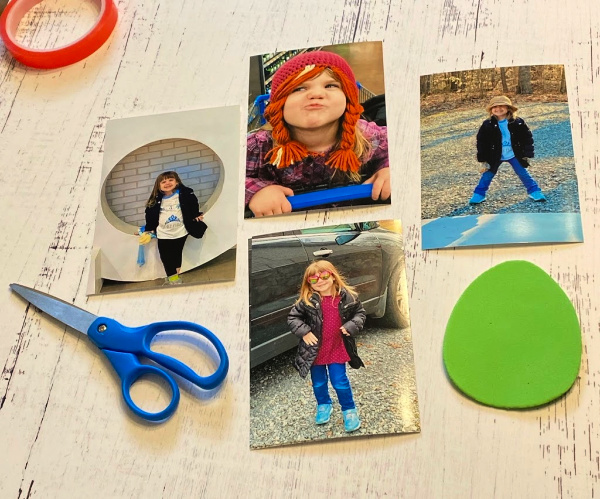
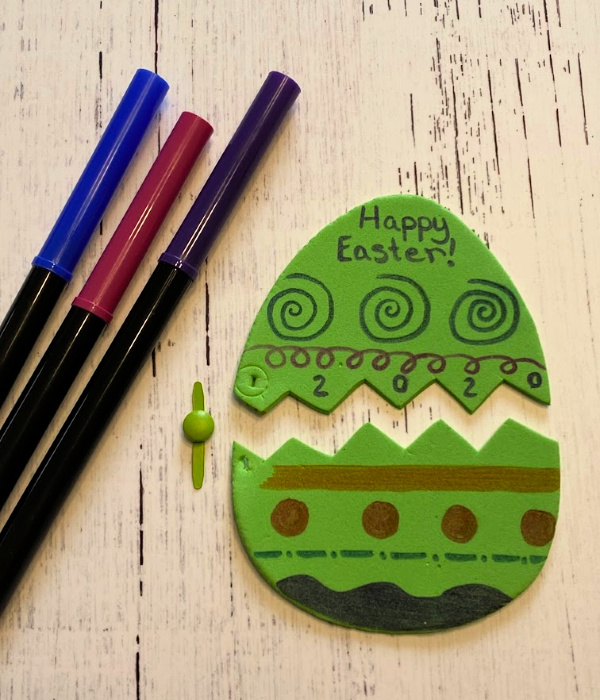
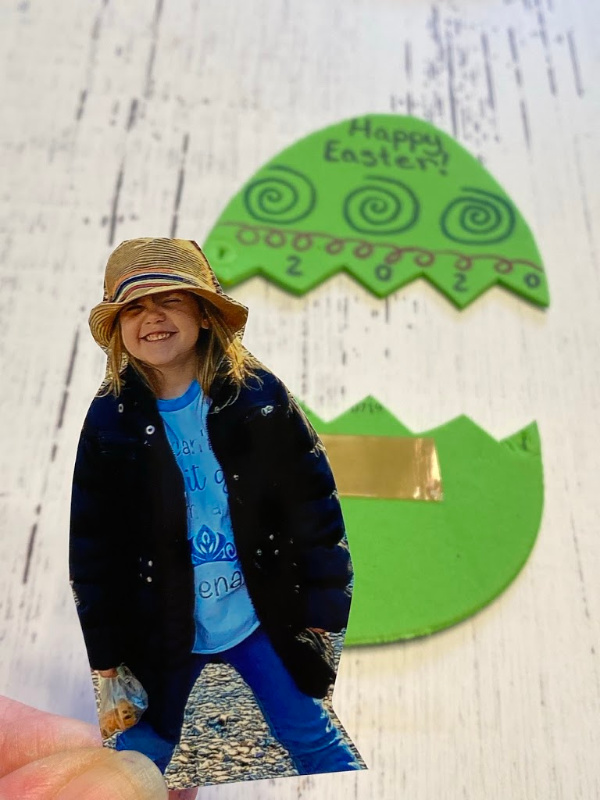
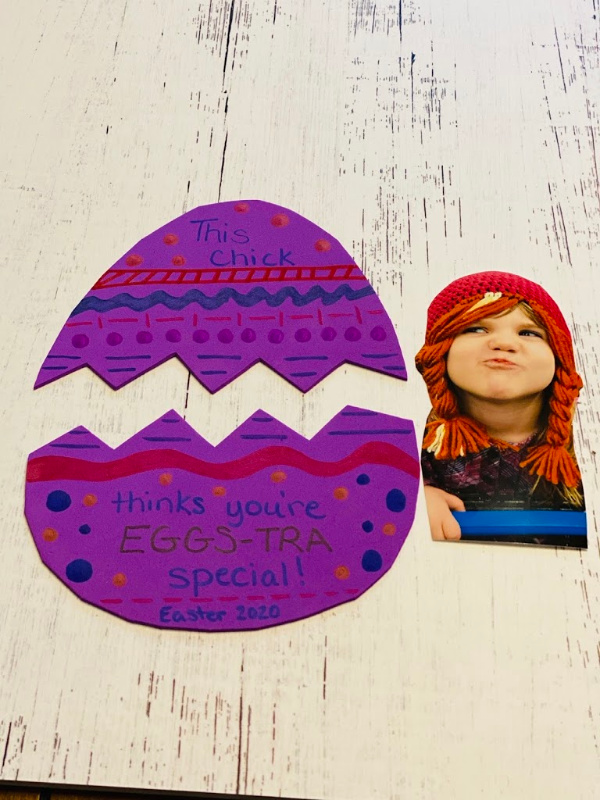
Take one of the Easter egg magnet craft foam eggs and choose a photo that you want to go with it. I chose a smaller image of Kaylee to go with this size egg. I have a larger image saved special for the large egg. Wait 'til you see that one. Decorate or color the egg as desired. Use the scissors and cut a zigzag pattern across the middle, creating 2 separate pieces to the egg.
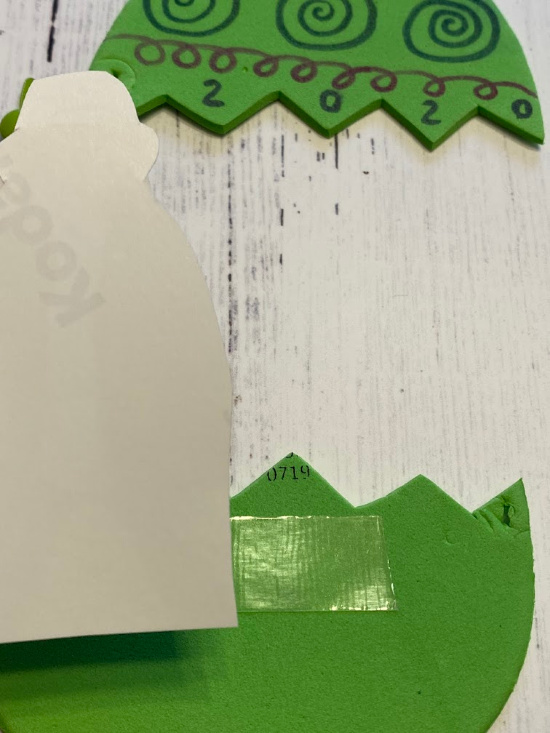
Flip the bottom half of the cracked egg over and attach a piece of the two sided tape. Next you'll need to trim down the photo to just the shape of your child. Remove any other part of the photo that would not fit "inside" the egg.
Place the photo image side down on the two sided tape. When placing the photo to the tape you should be looking at the back side of the printed photo paper.
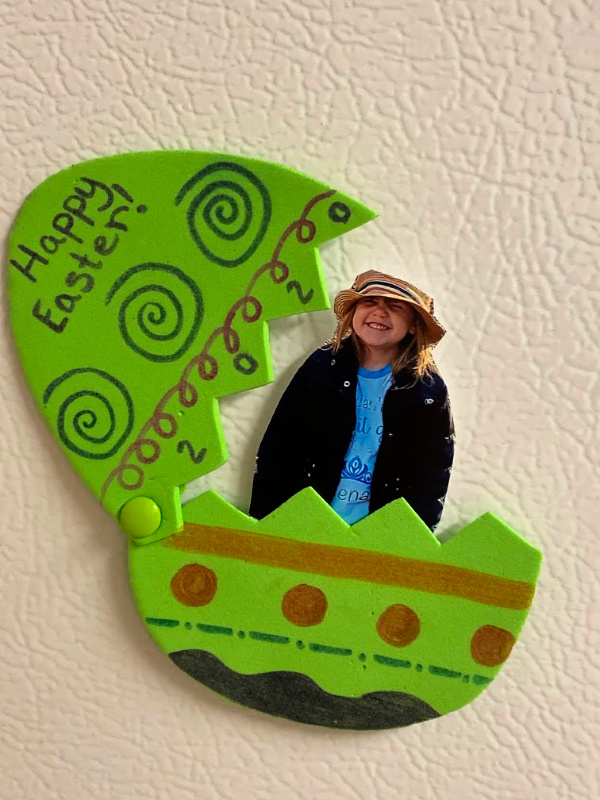
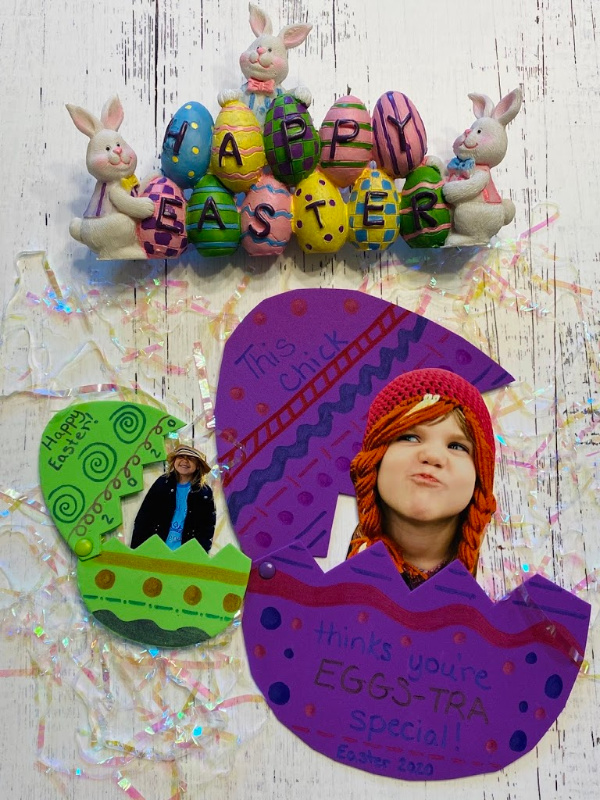
Now we are ready to attach the two egg pieces with the brad. When you go to do this step the egg will not match up on the zigzag "egg crack" anymore. It's o.k. though because you are making them to sit "cracked open". Use the white rectangle of foam and one of the magnets from the Oriental Trading egg magnet kit to attach the magnet to the back of your egg and you have a cute Easter egg photo magnet.
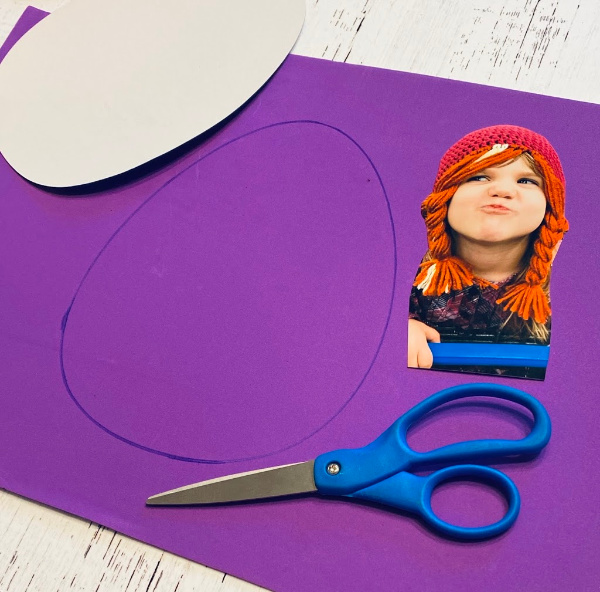
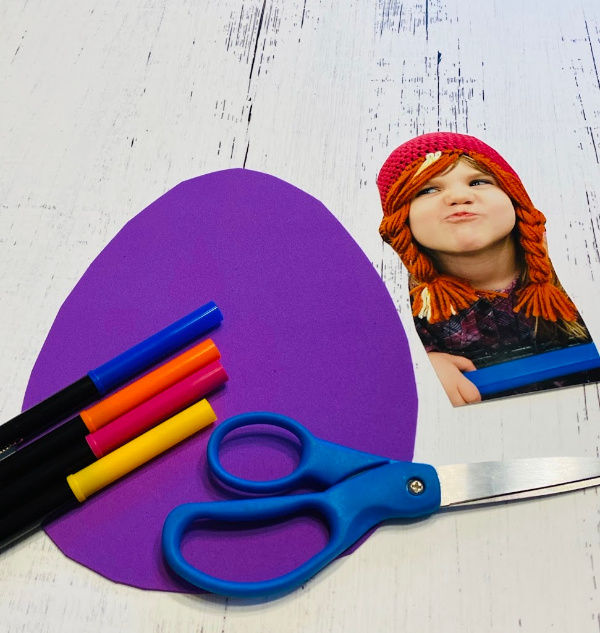
If you'd rather make an Easter egg photo card with regular foam sheets the steps are pretty similar as above. Trace out a large egg shape on the foam sheet color of your choosing. I have a pre-made Easter egg coloring template template that you can use.
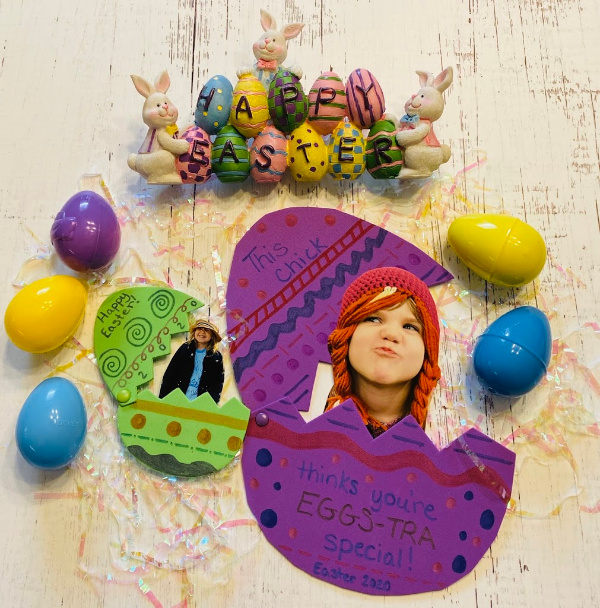
Have the kiddos decorate the egg however they want or you can help them write special messages on them. This large purple egg photo was made for her Daddy. He loves her facial expression in that photo.
Attach the photo to the back side of the bottom half of the egg with two sided tape just as I showed above with the other egg. Connect the two egg halves back together with a brad and there you have one eggs-tra large Easter gift for someone eggs-tra special.
If you make this Easter craft and decide to share it on Instagram please tag me @its_shanaka or use the hashtag #ItsShanaka so I can see your creations. You can find more Easter ideas on Instagram if you search the hashtag #OTCEaster
I hope you all follow along with me on Facebook, Instagram, Twitter, and Pinterest. I work full time and have online college classes so there are some days when I’m not as active but I still love having social media friends and would love to connect with y’all.






Leave a Reply