I only recommend products I use myself and all opinions expressed here are our own. This post may contain affiliate links that at no additional cost to you, I may earn a small commission.
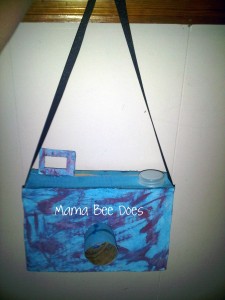
The other day I caught Baby B with our Canon Powershot digital camera trying to take pictures. He has a toy digital camera of his own but he doesn't even play with the thing! So I decided to do a craft with him to hopefully help him forget about Mommy's camera. As a part of Team #GlueNGlitter we went shopping at WalMart for #xtremeschoolglue and other craft supplies needed to make a cardboard camera.To see my mission to WalMart you can view my ThisMoment:
Cardboard Camera
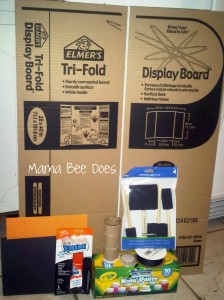
Supplies:
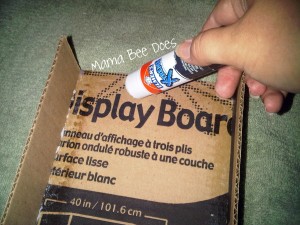
* cardboard (white works best for bright colored paint. You can use an old box from recycling but since I had recycled all of ours we used an Elmer's tri fold display board and now we have more cardboard left over for other crafts)
* bottle cap (we used a clear Gatorade cap)
* empty toilet paper roll or paper towel roll
* Elmer's X-TREME school glue stick
* hot glue gun w/ 1 glue stick
* washable paints
* paint brushes
* ribbon
* safety scissors for kids or X-ACTO knife for adults
Directions:
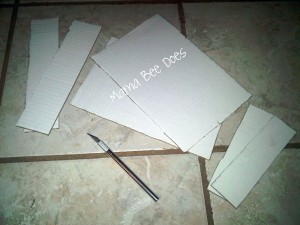
1. Cut out 2 large rectangles from the cardboard along with 4 inch wide pieces to match the 4 sides of the rectangle (2 long and 2 short).
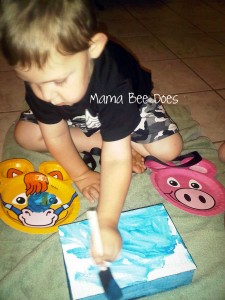
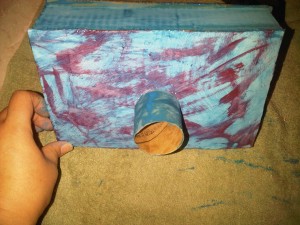
2. Let your little artist paint all the pieces of the cardboard while you cut the toilet paper roll. If you want a camera with a bigger "camera lens" you can leave it in 1 piece but I decided to cut our roll in half for a decent size lens. Then let the artist paint the lens as well. Let it all dry (the Crayola washable paint took 35 minutes to dry).
3. Use the Elmer's X-TREME glue to glue the cardboard pieces together to make a rectangle box (camera body). We glued the 4 small pieces to 1 of the rectangles and let it dry for a couple hours then went back and glued the back of the camera on to the rest of it. then let that dry a couple hours.
4. Glue the toilet paper tube to the front center of the camera body. Let that dry.
5. Attach a square of cardboard to the top of the camera for a view finder hole. Let that dry.
6. Glue the bottle cap to the opposite side of the top of the camera from the view hole. I used hot glue gun to attach this as the Elmer's X-TREME glue wouldn't work on this plastic.
7. Cut about 2 feet of ribbon to make the camera strap. Glue 1 end of the ribbon on one side of the camera and then glue the other end of ribbon to the other side of the camera to create a neck strap for your budding photographer to have their camera ready in a snap.
Baby B has kept his new camera with him everywhere he goes. He even took it to bed with him at nap time today. It's hanging on the bed post to their bunk bed. Looks like he has forgotten about the Canon... for now.
disclaimer: This project has been compensated as part of a craft recipe project using Elmer's #collectivebias




Leave a Reply