I only recommend products I use myself and all opinions expressed here are our own. This post may contain affiliate links that at no additional cost to you, I may earn a small commission.
I had made baby rump cakes before but this was a first for a baby bump cake. I have a lot of cake pans that I could use for the belly and bust shapes, it took me a good while to decide on which ones to use. I decided on some of my oven proof glass bowls. I chose the Pyrex 4 quart bowl for the stomach/baby bump and for the bust I used (2) 2 cups sized bowls. The Pyrex bowl gave more of a rounded belly shape than a regular round cake pan would give and I wanted the bust to be proportioned to the belly. I think I made good size choices.
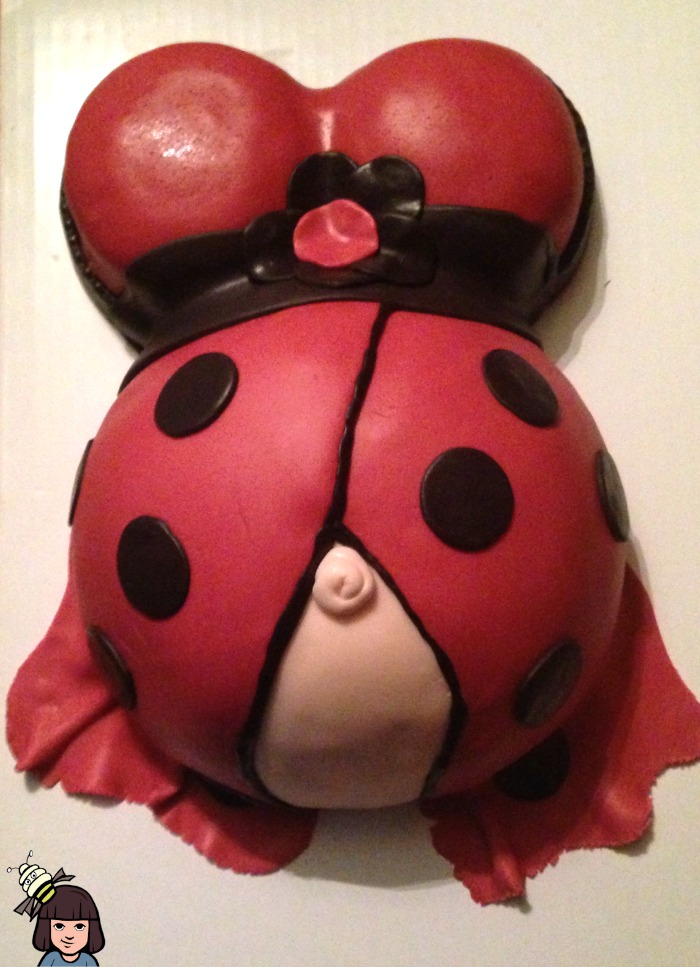
First, I had to mix and bake the three cakes. While those were baking and cooling I made two batches of my marshmallow fondant recipe. One was used for the pink and the second batch was split for the skin tone of the belly and a small amount for the black details of the shirt.
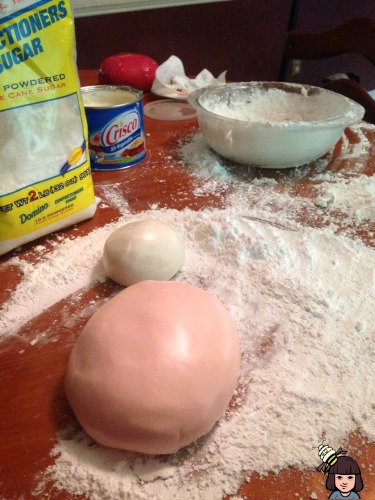
I used the creamy peach colored Wilton gel color to get a skin tone fleshy color for the stomach part of the fondant. It took very, very little to get the color I wanted. When coloring icing and fondant remember that it will darken as it sits so use the colors sparingly because you can always go back and add more if needed. The pink fondant of the top is a good example of this because it was supposed to be a lighter, brighter pink but I added too much color gel and it ended up being the color you see on the cake.
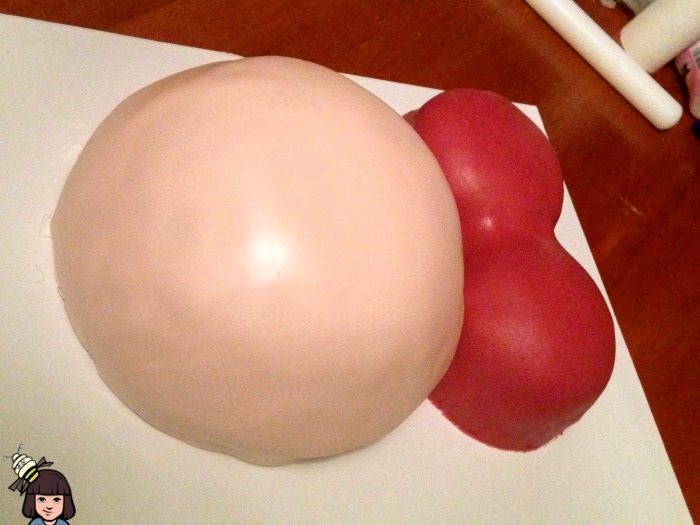
Once the cakes were cooled I sprayed them with the Wilton Spray N Seal. This spray makes it a heck of a lot easier to crumb coat my cakes. I love this stuff. Once they were set I crumb coated all three cakes. When covering the cakes with the fondant I covered the two small cakes for the bust together and then covered the belly part of the cake. Once the cakes had the base fondant layers on I added the pink for the belly covered part of the shirt and black trim across the bust and top of the belly to cover where the cakes met to where you couldn't see the cakes were separate. To cover up some flaws I added a trim of black lace to the bust part of the cake and added the dots to the top as requested for the design of the baby bump cake.
I know with both of my boys I ended up with an outie belly button so I took some of the extra I had left over from the belly colored fondant and rolled up a small piece to give the cake an outie. I then lined the top with a black trim to give the cross over pieces of the top a more detailed look. I think it turned out pretty well for my first try at a baby bump cake.
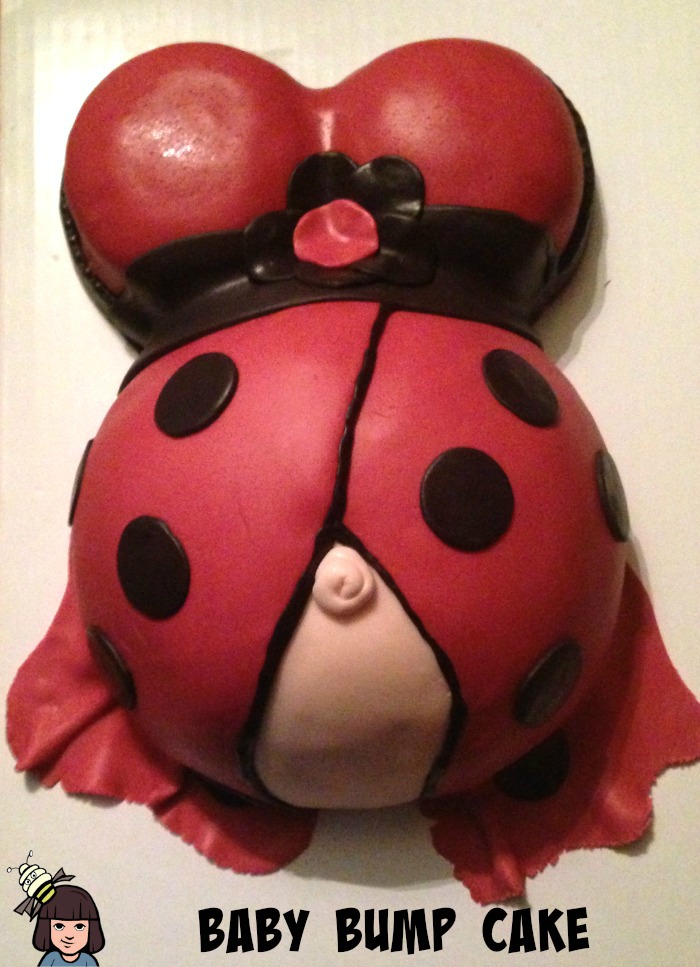
I have a question for y'all. How much would be the most you would be willing to pay for this baby bump cake?


Roy Shaffer says
This cake is adorable and looks delicious. Yay. My cravings start again!
Linda Manns Linneman says
This is such a cute idea for a baby shower. It doesn't sound to hard to make. Thank you so much for sharing
Francine Anchondo says
That is so cute