I only recommend products I use myself and all opinions expressed here are our own. This post may contain affiliate links that at no additional cost to you, I may earn a small commission.
I have a thing for candles. Most that I have I burn because they smell so good but I have some that I just keep around to look at. Decorative candles can be expensive or not if you have a little DIY in you. We have a family member that enjoys candles as much as I do. I knew that we wanted to get some candles but did not want to pay the $20+ for 1 candle. I knew if I tried I could take a candle from drab to fab myself for much less than what they cost at the stores. It's not hard to create your own DIY decorative candles with a little creativity and some Elmer's products.
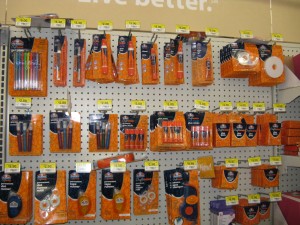
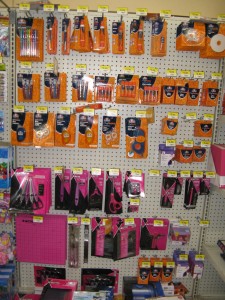
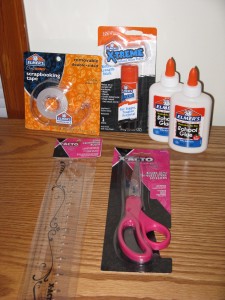
I went to Walmart to get supplies for my crafts (Little B also needed more school glue). I love that Walmart offers craft supplies. I hate trying to go to multiple stores to get what I need in the short amount of time I have to be out while hauling Baby B around too. Sure I could go to one of the "nothing but crafts" stores but the prices are so high there that Walmart is not only better for my all in one place shopping but it's also cheaper than the craft stores, even with the 40% coupons I can get better deals at Walmart. Below I'll show you how to decorate candles for around $10 and that's only if you have to buy all that is on the list. It would cost less if you all ready have some supplies on hand. Let's get glittery!
Sparkle Candles
Supplies:
Assortment of candles
Elmer's CraftBond double sided scrapbooking tape
Glitter
Container to catch access glitter (I used a small empty box)
paint brush
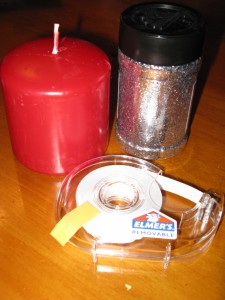 1. Take your candle and wrap with pieces of the double sided tape.
2. Shake or pour glitter to cover the tape.
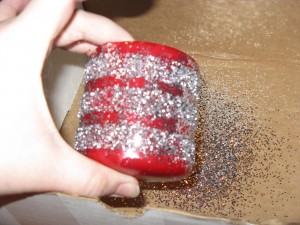
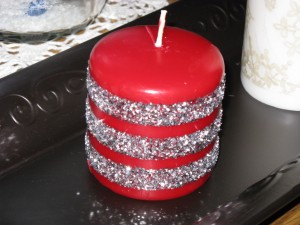
3. Brush away the extra glitter from between and around the strips of tape. All done! Easy and pretty right? For the entire list of supplies I spent $9.97.
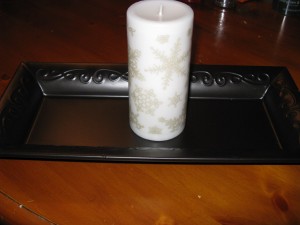
Printed Candles (with decorative tissue paper)
Supplies:
Candles
Decorative tissue paper
Elmer's X-TREME school glue stick
Heat/embossing gun or Hair dryer (I used my Conair dryer)
Scissors or rotary cutter (I used X-ACTO Designer Series 8 in. stainless steel scissors)
Ruler
1. Trim the tissue paper to fit your candle the way you want. For my 6 inch candle I trimmed my paper to 5 & ½ inches by 9 inches.
2. Turn paper decorative side down so that when it is on the candle it will be to the outside. Use your glue stick on the edge sides of the paper. Gently roll the candle in the paper, applying extra glue to the edges as needed as you go.
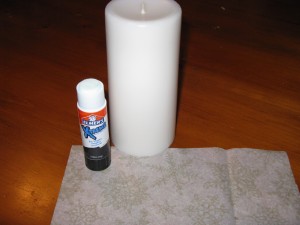
3. Use the heat gun or hair dryer back and forth on high heat in quick back and forth motions. You'll begin to see the wax soak through the tissue paper. You'll begin to not see the background of the tissue paper only the design. Smooth the paper with your fingers as you heat it so that the wax doesn't build up in spots and look blotchy and runny. Allow them to cool (only takes a minute or two). You could also add a dimensional look by adding sticker embellishments to the candle after the tissue paper has adhered all to the candle. Buying the entire supply list cost me $12 but now have plenty of left overs for even more candles that I have to finish for the Christmas gift.
If you love to DIY like me then you should go enter to try and win the entire Elmer's Memory Keeping Wall from Walmart ($250 value)! Oh the possibilities for crafting right? Check out my Google+ photos to see what all the Elmer's Memory Keeping Wall includes.

disclaimer: This project has been compensated as part of a social shopper insights study for #ElmersHoliday #gluenglitter #collectivebias #CBias





Leave a Reply