I only recommend products I use myself and all opinions expressed here are our own. This post may contain affiliate links that at no additional cost to you, I may earn a small commission.
When I first began decorating cakes I was strictly a buttercream icing user. I never used fondant, ever. Finally I figured why not give it a try. I first bought some of the premade fondant for accent pieces on a cake. It worked for what I wanted but man oh man does that stuff not taste good. Don't waste your money on that stuff unless it's a emergency. I wouldn't want my customers to eat that stuff. The times that I did use it I told the people to peel it off, that it was pretty to look at but not good to eat. Seeing all the beautiful cakes that used fondant online and in my cake magazines I knew there had to be something better out there than store bought fondant. There are many ways and recipes to make your own fondant. I found recipes for homemade marshmallow fondant. I was intrigued. People like marshmallows right? These recipes had to taste better than the stuff I was buying. Not only does the homemade marshmallow fondant taste better it's cheap to make! Ok so here's what y'all are here for right? Recipe is adapted from Wilton. Don't let fondant intimidate you. I'm clumsy, sometimes lazy and I make plenty of mistakes so if I can make it I'm sure you can too!
How to make marshmallow fondant
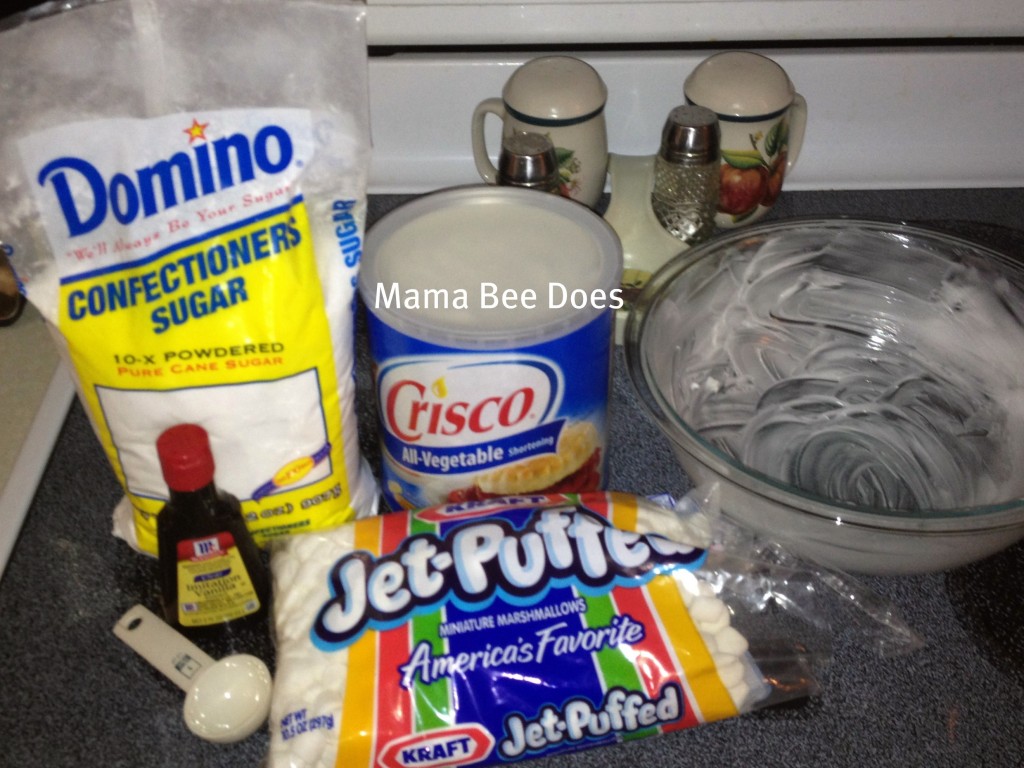
Ingredients:
1 (10 oz.) bag of mini marshmallows. Don't buy the generic, the Kraft jet puffed marshmallows are the BEST to use
2-5 Tbs. of water
8 cups (2 lbs.) confectioners powdered sugar; sifted. This is ok to use generic brand.
Vegetable shortening- I always use Crisco- this is for the bowl you use for the marshmallows, your hands when mixing and your work surface that you do your kneading on.
1 Tsp. Vanilla extract or flavor of choice- I have used orange and almond before too (optional)
Food coloring color if you want the fondant a certain color (optional)
Directions
Coat a large microwave safe bowl with a thin coat of the vegetable shortening.
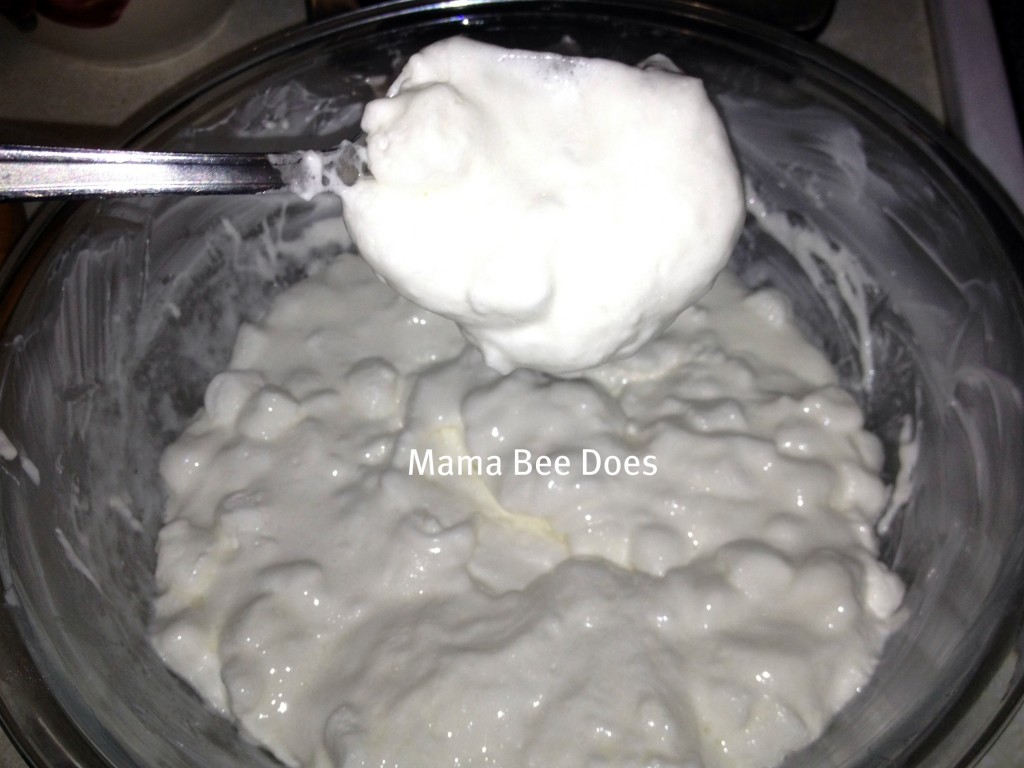
Dump entire (10 oz.) bag of mini marshmallows and 2 Tbs. of water into the bowl. Microwave the marshmallows/water for 1 minute, stopping every 15 seconds to stir with a large spoon coated in the vegetable shortening. Using the shortening on the bowl and spoon makes it less sticky and easier to mix. This is my consistency of the mix after 45 seconds, stirring every 15 seconds.
Add your liquid flavoring of choice and/or food coloring to the marshmallow mixture once you take it out of the microwave. Skip this step if you don't want to flavor or color the fondant.
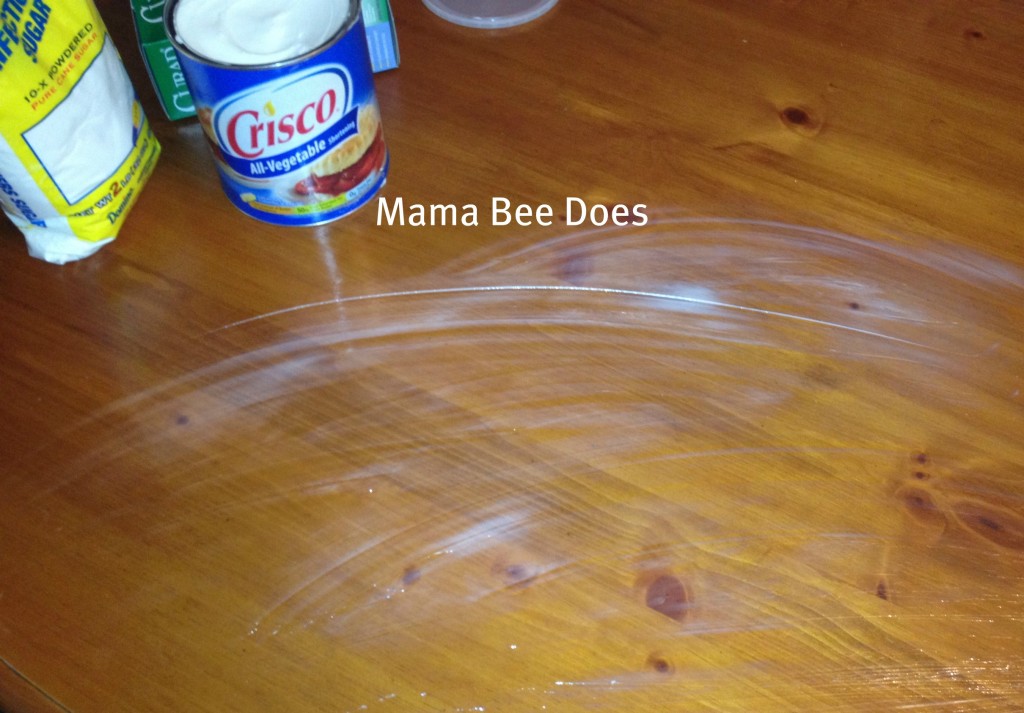
Coat your work surface with the vegetable shortening. I lather it right on my kitchen table. I remember when my boys saw me do this the first time. They thought I was nuts.
Fold or stir in 4 cups of powdered sugar into the melted marshmallows. This will get messy and sticky but it will turn out in the end, promise. Mix until it is a like a bread dough but not too stiff.
Add about 2 cups of powdered sugar to your work surface in the middle of your work surface. Scrap out the marshmallow mix onto the powdered sugar on the work surface.
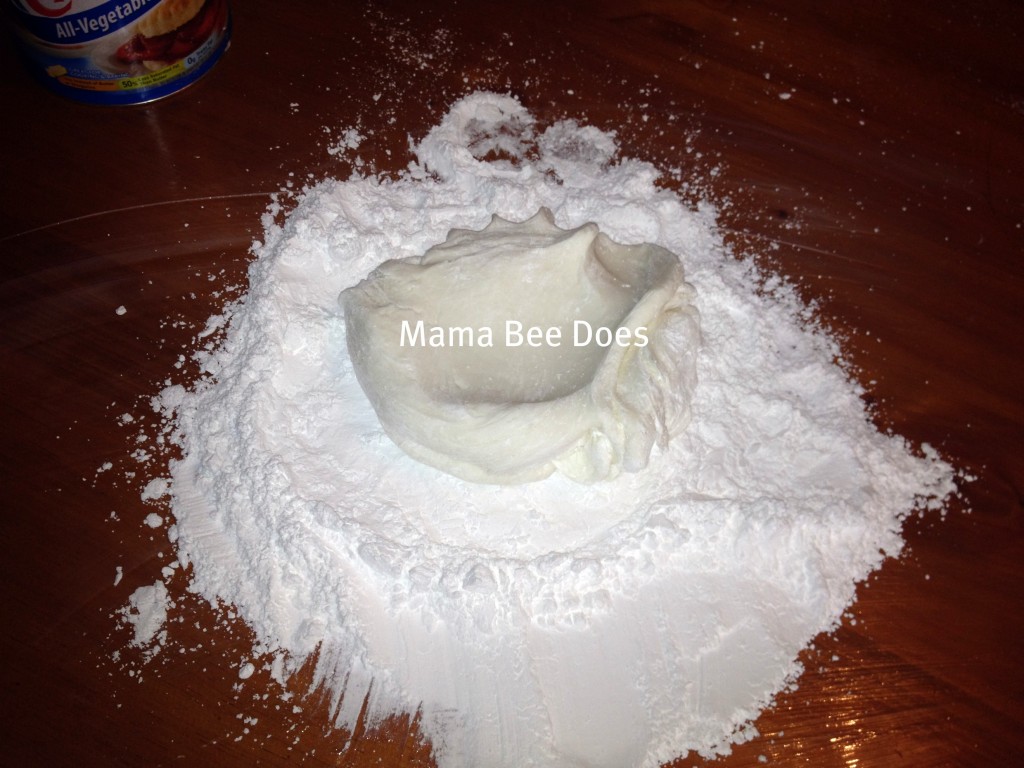
Grease your hands/gloves with the vegetable shortening and knead, knead, knead! Because of my hand eczema I wear latex free gloves and lather them in my Crisco to knead. When I'm done I just peel them off.
If your fondant ball starts to look cracked or tears then it is too dry and needs more water. You can add more water, about ½ tbs. at a time until the fondant is smooth and elastic. Start to finish took me about 15-20 minutes. The more I have done it the quicker I have gotten with it though.
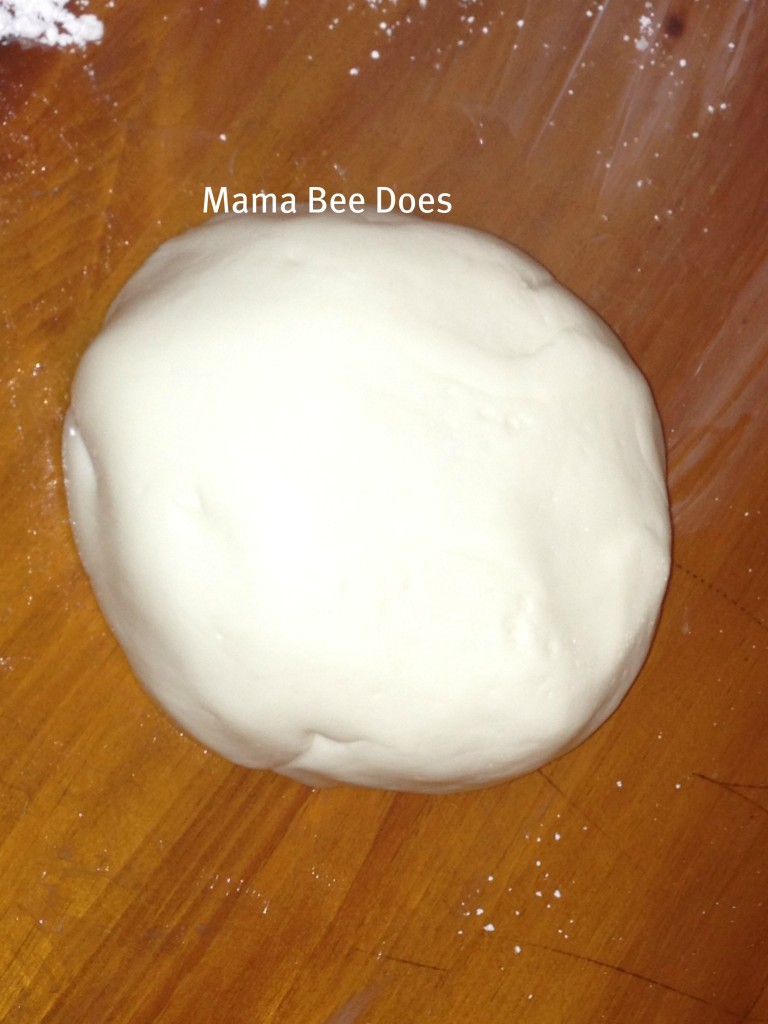
I have used homemade marshmallow fondant only hours after it being made but it's best if used after it has set for over night. You can make the recipe as I mentioned then wrap the fondant in a double layer of saran wrap coated in a very thin layer of the vegetable shortening and kept in a sealed Ziploc bag. This fondant keeps in the refrigerator for 1-2 weeks. Just take from the fridge and let sit a little while then knead it again to soften it back up for use.
- 1 (10 oz.) bag of mini marshmallows. Don't buy the generic, the Kraft jet puffed marshmallows are best
- 2-5 Tbs. of water
- 8 cups confectioners powdered sugar; sifted. This is ok to use generic brand.
- Vegetable shortening- I always use Crisco- this is for the bowl you use for the marshmallows, your hands when mixing and your work surface that you do your kneading on.
- 1 Tsp. Vanilla extract or flavor of choice- I have used orange and almond before too (optional)
- Food coloring color if you want the fondant a certain color (optional)
- Coat a large microwave safe bowl with a thin coat of the vegetable shortening.
- Dump entire (10 oz.) bag of mini marshmallows and 2 Tbs. of water into the bowl. Microwave the marshmallows/water for 1 minute, stopping every 15 seconds to stir with a large spoon coated in the vegetable shortening. Using the shortening on the bowl and spoon makes it less sticky and easier to mix.
- Add your liquid flavoring of choice and/or food coloring to the marshmallow mixture once you take it out of the microwave. Skip this step if you don't want to flavor or color the fondant.
- Coat your work surface with the vegetable shortening. I slather it right on my kitchen table.
- Fold or stir in 4 cups of powdered sugar into the melted marshmallows. This will get messy and sticky but it will turn out in the end, promise. Mix until it is a like a bread dough but not too stiff.
- Add about 2 cups of powdered sugar to your work surface in the middle of your work surface. Scrap out the marshmallow mix onto the powdered sugar on the work surface. Use more if needed.
- Grease your hands/gloves with the vegetable shortening and knead, knead, knead! Because of my hand eczema I wear latex free gloves and lather them in my Crisco to knead.
- If your fondant ball starts to look cracked or tears then it is too dry and needs more water. You can add more water, about ½ tbs. at a time until the fondant is smooth and elastic. Start to finish took me about 15-20 minutes. The more I have done it the quicker I have gotten with it though.
- I have used homemade marshmallow fondant only hours after it being made but it's best if used after it has set for over night. You can make the recipe as I mentioned then wrap the fondant in a double layer of saran wrap coated in a very thin layer of the vegetable shortening and kept in a sealed Ziploc bag. This fondant keeps in the refrigerator for 1-2 weeks. Just take from the fridge and let sit a little while then knead it again to soften it back up for use.
- For cleaning up your work surface I scrap as much fondant goo as I can in to the trash then I use hot water, some Dawn dish soap and a wash rag to clean up the table really well.
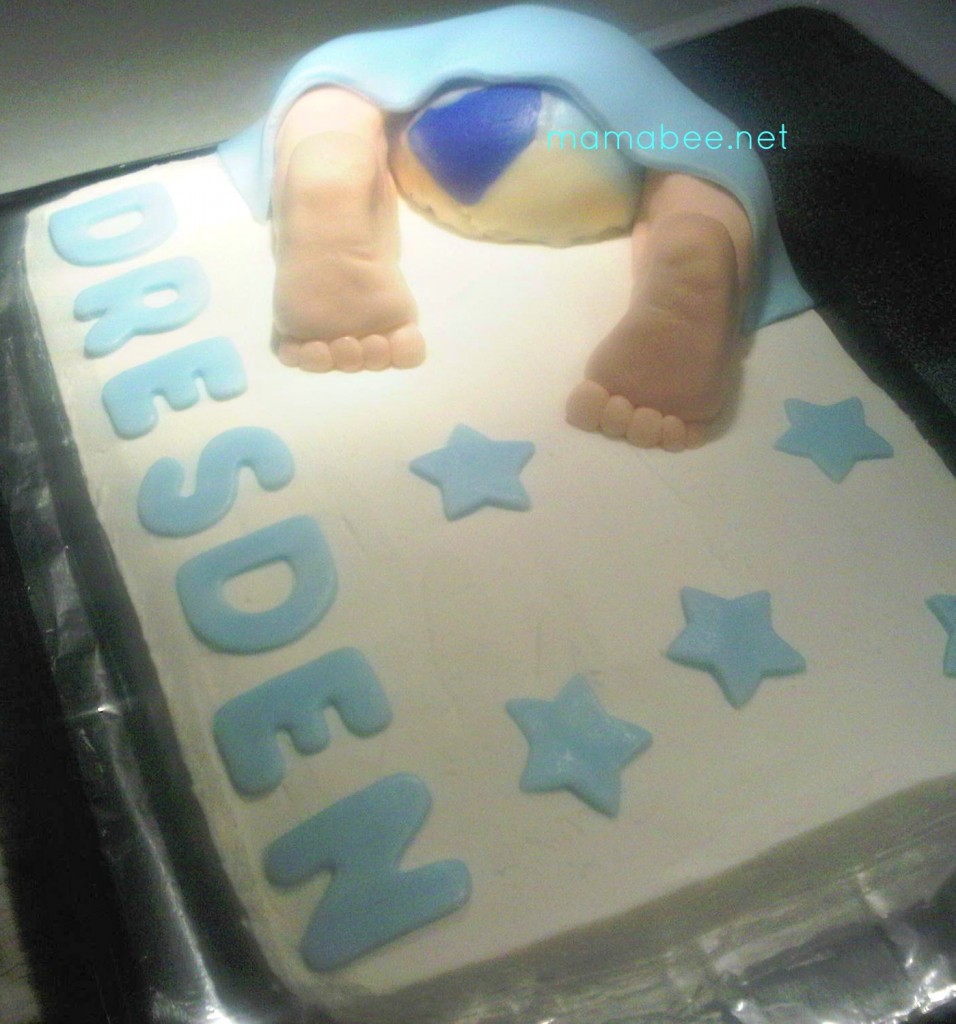
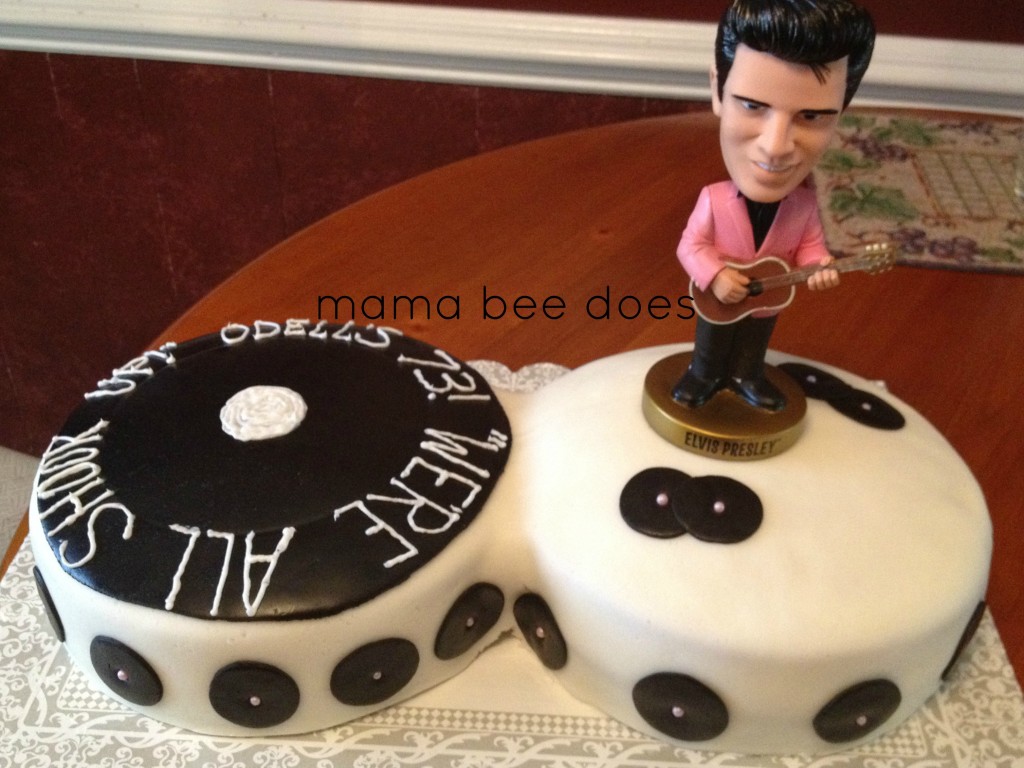
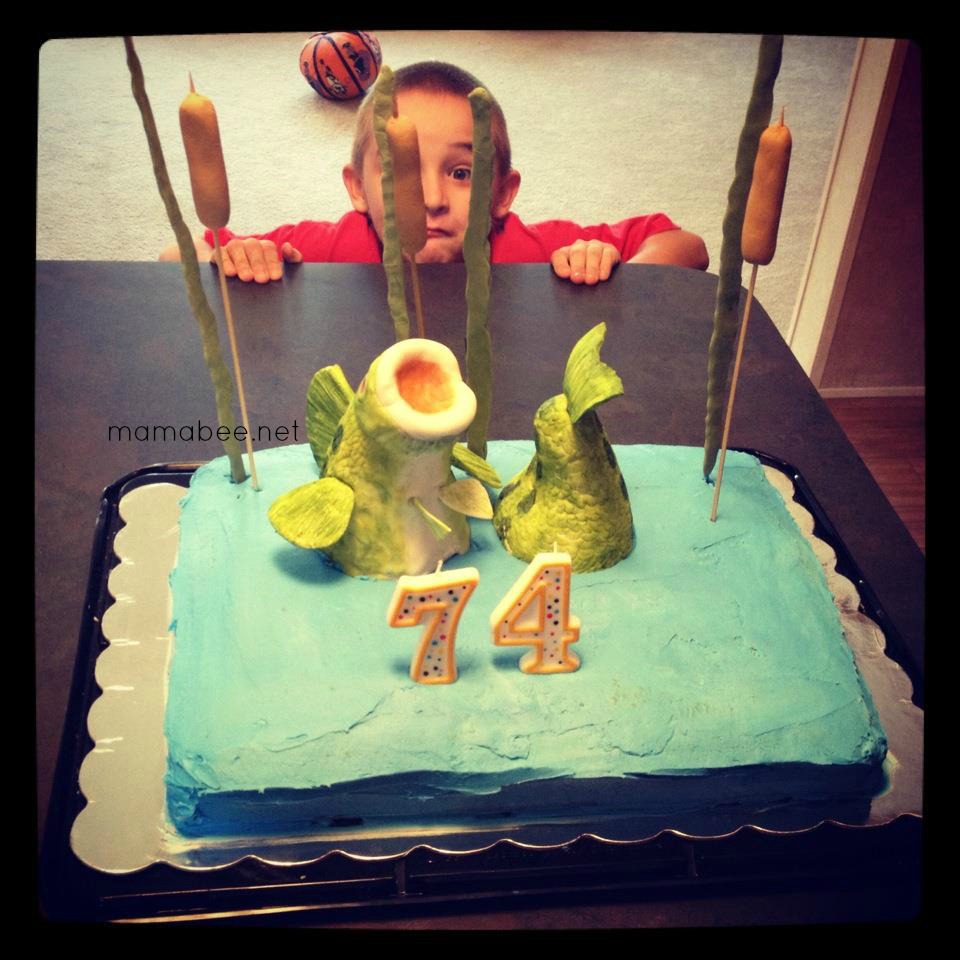
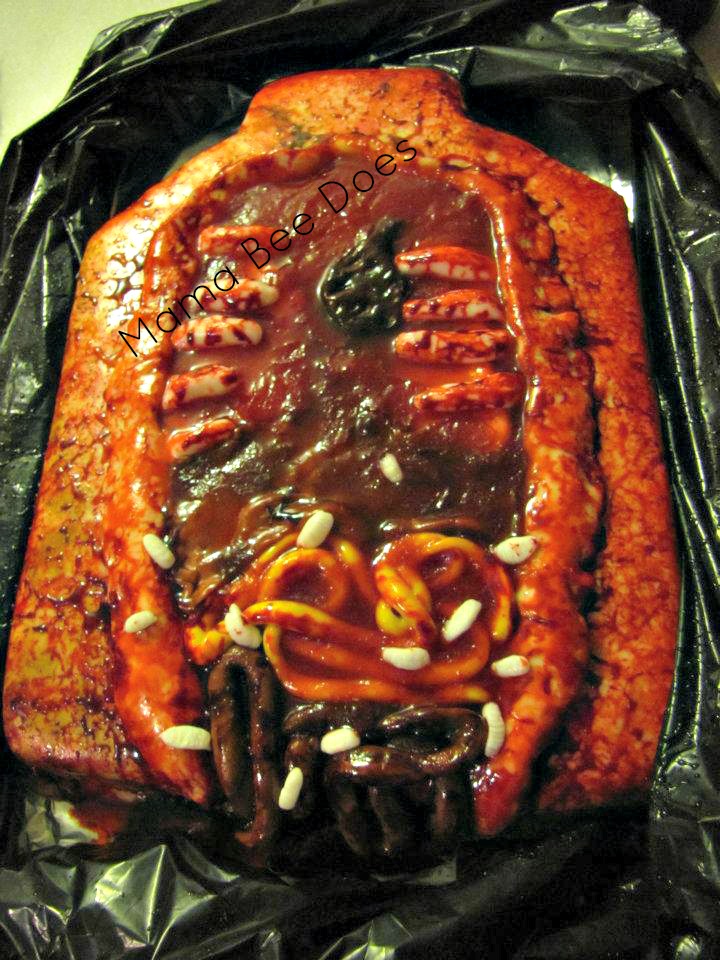
Ways I have used the homemade marshmallow fondant? Here are just a few examples...


Becky says
This is amazing! My family has a gluten Allergy and some have it worse than me. I Recently got engaged and I have a feeling it will be impossiae to get a gluten free cake with gluten free Fondant. So this gives me a chance to experiment with it . Thank you for Sharing this information. I also have been an avid user of Wilton baking products.
jenny says
Wow, love the cakes. I'm going to try using the marshmallow fondant on a cake of my own.
Katy says
Hello! I was wondering, once u make it, and let set overnight, would it be fine just sitting on the counter til use the next day or does it have to be refrigerated? Or is the fridge just for the longer period of waiting time? I feel like fridge would toughen it up( just a tiny bit) and i dont want cold hands.. lol 🙂 ive never made my own fondant and my sons birthday is in a month so trying to figure out everything.. i want to use fondant.. ive used store bought a few times but it is sooo hard to work with and to color.. ugh. Never again lol. Thank u for your post and your cakes are beautiful!
Shanaka says
It should stay in the fridge until about an hour before you need to work with it. Then it will still take some kneading as well. I hope it works out for your sons cake.