I only recommend products I use myself and all opinions expressed here are our own. This post may contain affiliate links that at no additional cost to you, I may earn a small commission.
We are half way through our 6 week food photography course with SoFab U. The first week we spent time learning how to use our online course material and getting to know our classmates. Once we knew everyone and figured out how to use the online course it was time to jump right in to our photography lessons. The first thing they went over with us was Background and Lighting. I was always a point and shoot kind of girl when it came to taking photos. I didn't give lighting a thought. Man oh man was I missing out on some great opportunities with my photos. When it comes to food photography, light is the single most important factor. Now matter how good we make the food look if it's poorly lit then you can kiss your chances of a beautiful outcome on the photo goodbye.
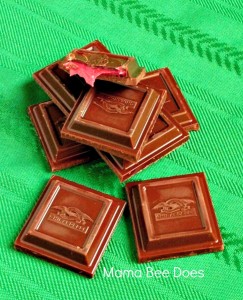
During that week we had an assignment to use what we learned in class and bring that knowledge to life in some photos. I chose to photograph chocolates, a bowl of grapes and a blueberry muffin. Not only do we turn our work in to our instructor but we also share them with our entire class for an open discussion and critique. Not everyone sees photos the same way so I was glad to have others view my work and tell me what turned out well and what I can improve on. There's always room for improvement I think, not matter who you are. For my chocolates photo here is how I got my photo: I had trouble figuring out what windows had the best sunlight at what time of the day. The best one at the time I took this was in our boys room that faces north/east. I had the sun light coming in the photo on the right and had a white Elmer's board on the left to help reflect light. I had wax paper over the window. I used a table cloth underneath the chocolate. Of course I took a bite to show that the chocolate was raspberry filled 😉 From the feedback I received I learned that the green table cloth was a bit of a distraction for most people, that it drew their eyes away from the chocolate. The lighting was good and the wax paper over the window did what I wanted (you want to make the entire window appear to be lit evenly, not just the part where the sun is. You can do this by placing a translucent cover over the window. Wax paper or tracing paper work great.)
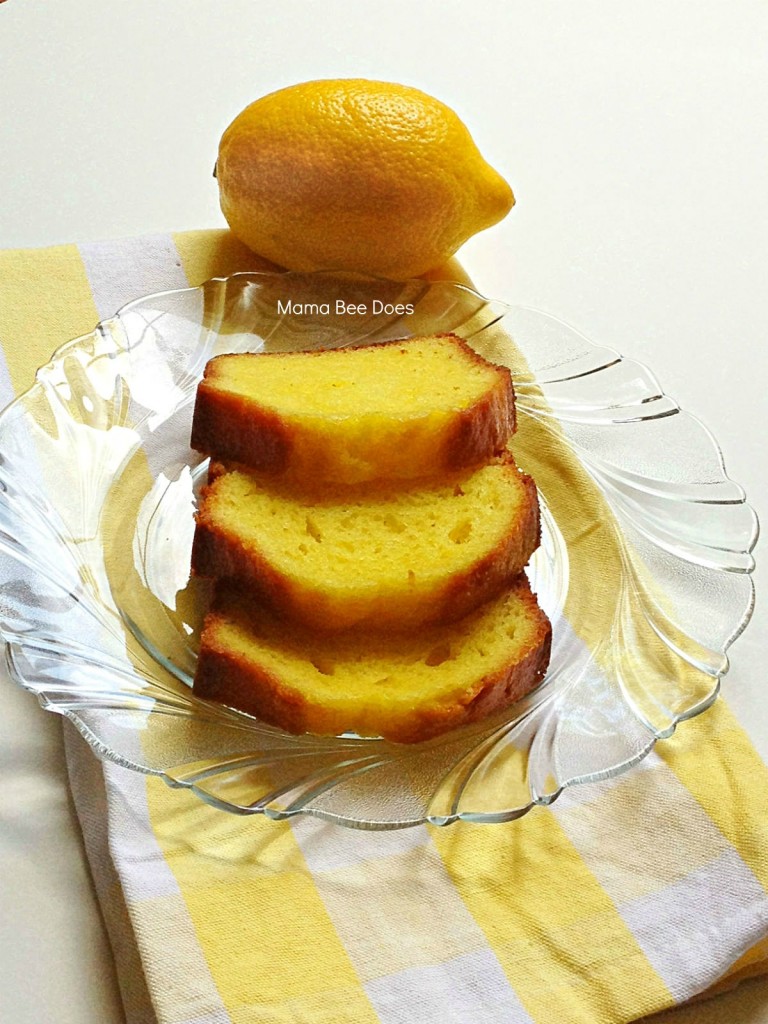
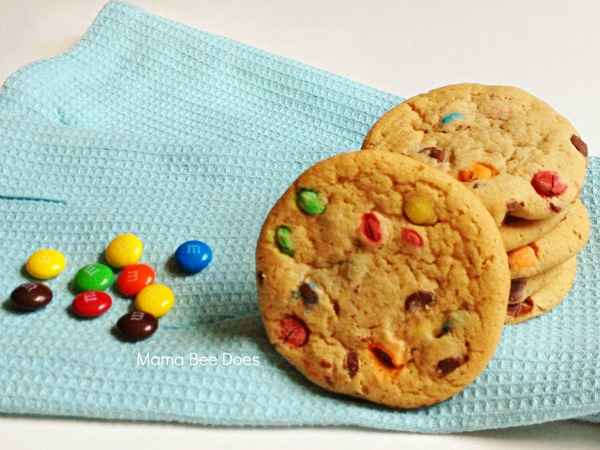
If you are a fan of the Mama Bee Does Facebook page then you may have caught the 2 photos I shared this past week that I did for class. These photos were of lemon pound cake and some M&M chocolate chip cookies. For these photos we were practicing the techniques we learned in class- the unit 1 lessons of background and lighting along with unit 2 lessons of Props and Styling and how to easily make adjustments to your photos using the free online photo editing tool Pixlr. With Pixlr I have learned what layers in photographs are and how to to editing with levels, image sharpening, adjusting the amount and radius, how to best use the unsharp mask and how to use Dodging and Burning effectively without over doing it. It was a lot to take in at one time but my photos all ready look much more appealing thanks to what I have learned so far, at least I think so.
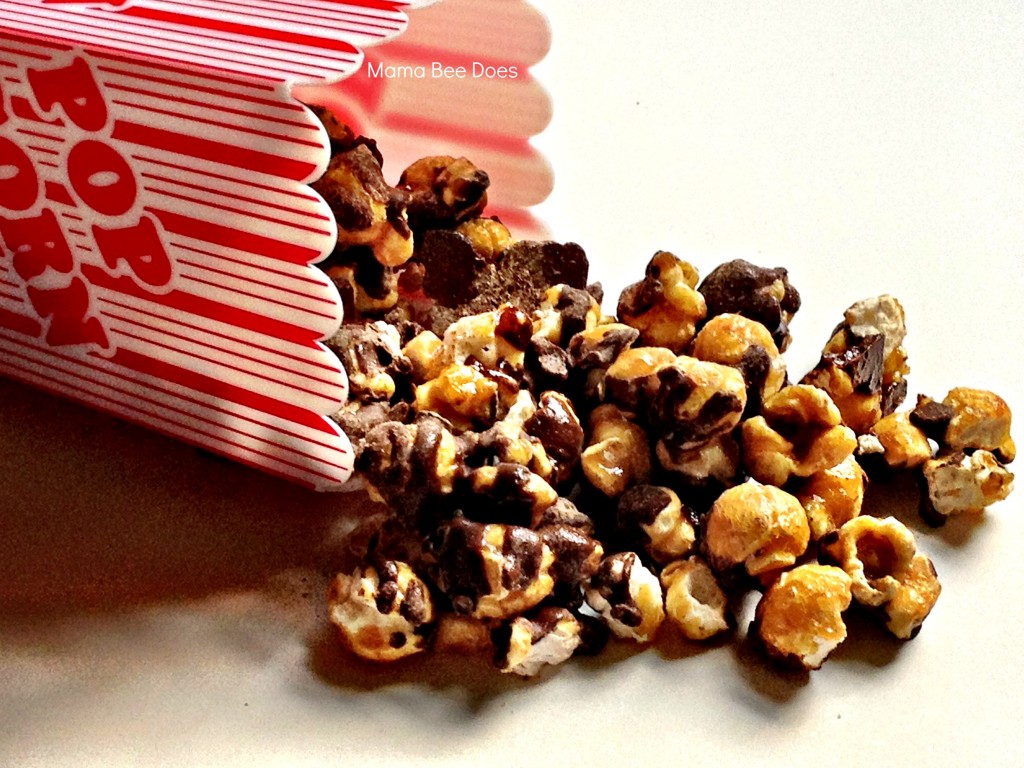
This week the reading material was Camera Tech, where we are learning about the rule of thirds, different camera angles that work for food photography, white balance, different camera settings as well as other technical factors that can drastically change photographs (exposure, shutter, aperture, depth of field, and ISO). For this week I took what I learned and snapped some photographs of chocolate drizzled caramel corn, some apple slices with a bowl of soy butter and some leftovers from my Chicken & Noodles Bake recipe.
I look forward to the next two weeks where we continue to learn how to better our food photography and to put together my portfolio of the photos I've taken throughout the course. I'm excited to use what I have learned from this course for my cake hobby and to give y'all better visuals for my recipes here on the blog. I'm no longer that point and shoot girl!
Disclaimer: I am required to write blog posts sharing my time in the SoFab U #SocialFabric Collective Bias #CBias food photography course. We are graded on our submissions through the 6 week course.




Leave a Reply